This is it!
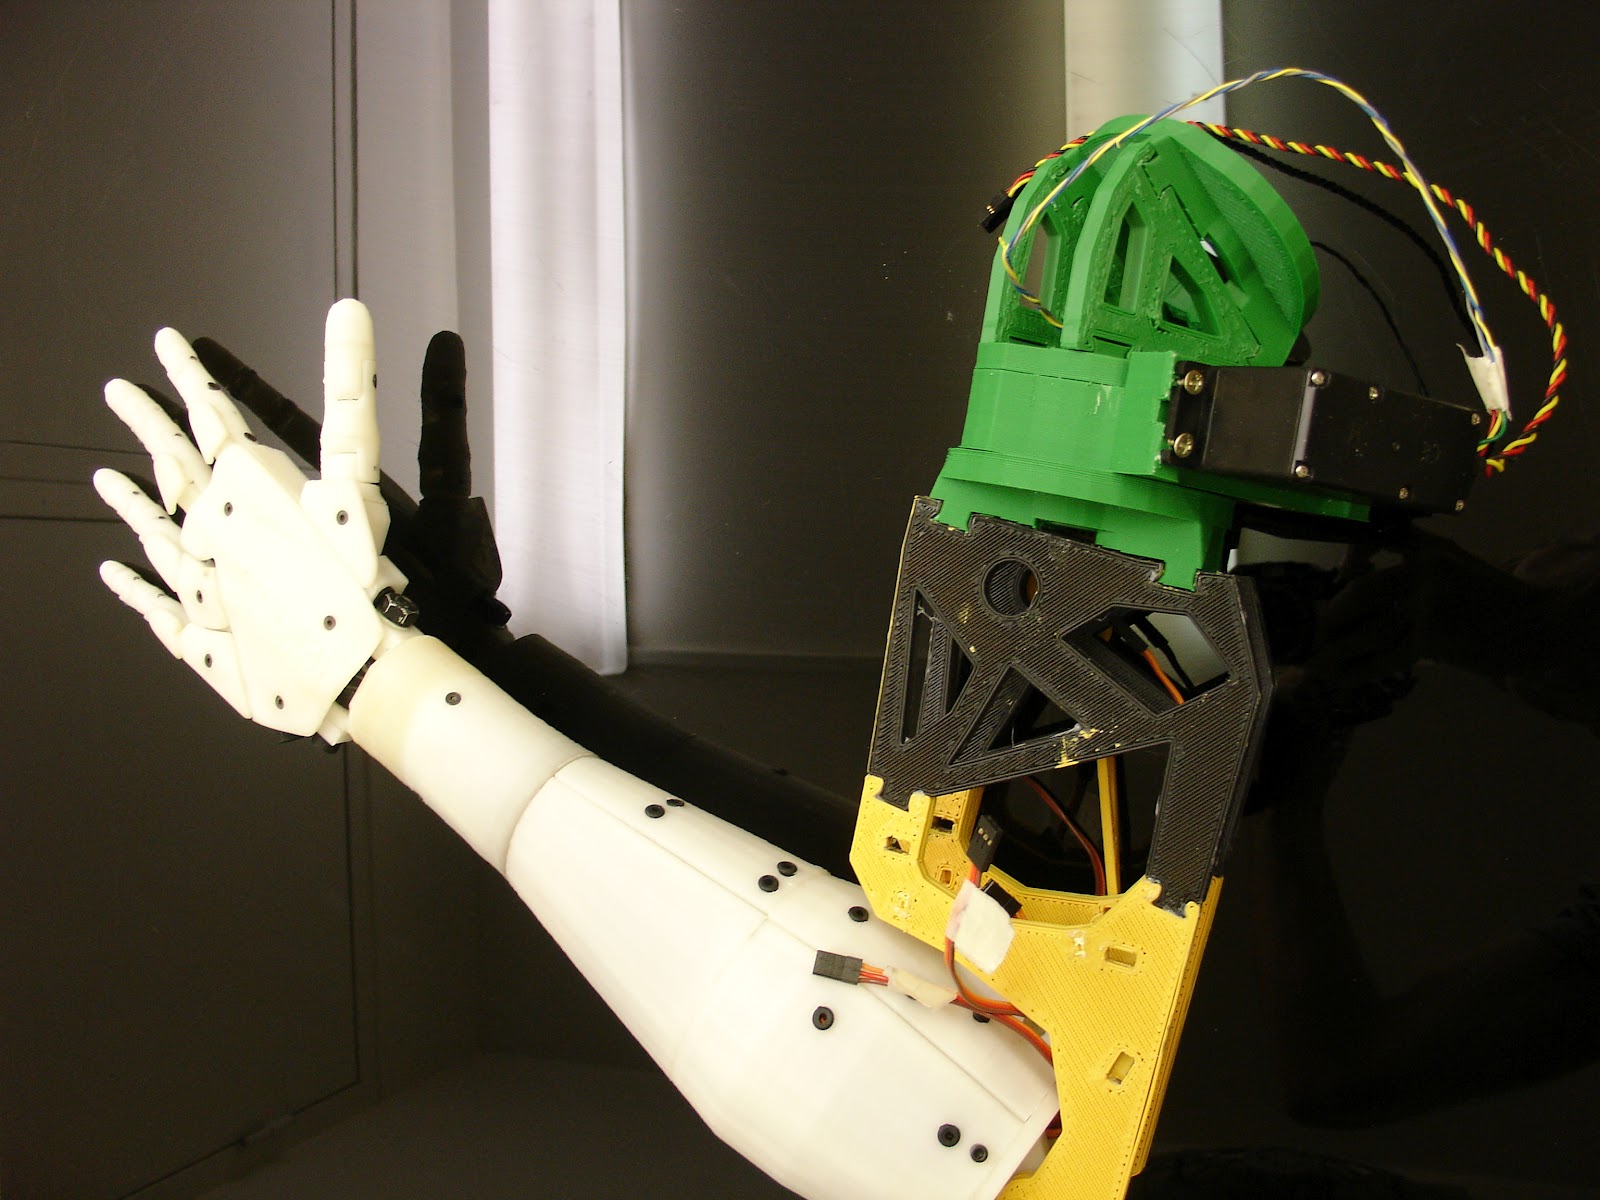
Today is the releasing day of the bicep, and the beginning of the shoulder.
Gee, since the last post I had again to redesign SO many parts it is unbelievable. First the shoulder isn't going to be like I thought because I encountered some direction problems, it didn't look human anymore...
It was freaky! the shoulder was huge and too high which made InMoov like he had arms way too long.
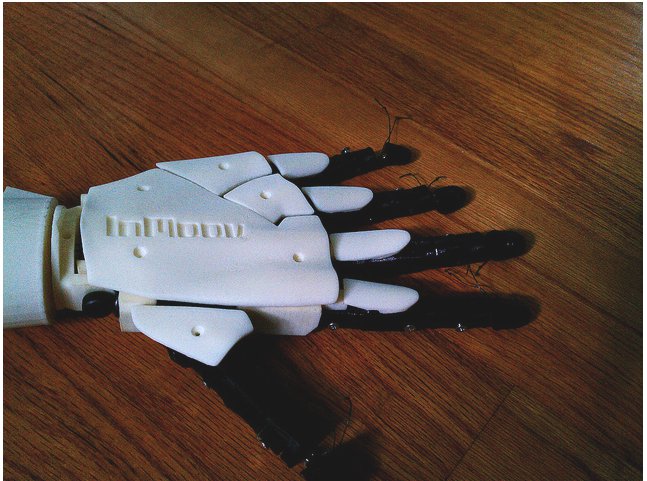
Some pictures of the bicep, I have done many pictures of the whole building process, to make it easy to build. Actually it will be easier for you guys to build the bicep then the forarm.
I'm planning on making a step by step with pictures, just that, it's so much work.
Covers aren't ready yet, I am still working on the design, after all this is what gives the final look. The one you see on the pictures are just for show off, but it should be something close.
Hope you enjoy it, because I do. When I see that arm moving by itself I feel like being in a sci-fi movie.
I need to make a little video to show how this works. As soon as I receive my white ABS and I can print the rest of the covers.
Update 21/09/12: Assembly instructions uploaded in Tab "Assembly help" .
Update 01/10/12: Assembly sketchs uploaded in Tab "Assemblysketchs".
2012-09-17
2012-09-11
Inmoov robot shoulder
A box full of printed parts that are all for the trash.
Anyway, this should be something good, I am surprised of the strength it gives. Those HS-805BB servos are amazing.
This is what I plan on getting for the shoulder. Each cylinder has a servo motor and can rotate at 180°.
The cylinder contains a gear with a worm drive related to the servo.
I have extracted the potentiometer of the servo and fix it in the center of the cylinder.
This is what I have printed so far, I had to print in green because I don't have anymore white ABS...It should arrive soon though. I really don't like this green... It doesn't look right on the robot, although I have nothing against bio colors.
Here it's mounted to the bicep, I had to redesign the mechanism system, and it isn't printed yet |
2012-09-07
Inmoov by B.Stott
I have been in contact with someone since a while now, and I can tell you that person is really working on InMoov's hands. In fact, some suggestions came from him, for exemple the new brackets and the rotational bicep.
Have a look at all his pictures, he did a great job. I am so delighted when I see others constructions, it really helps to make me go on with this project.
Thanks B.Stott
To see more of his work: Here
2012-08-06
Power glove your robot hand
Feeling like actuating your robot hand with a PowerGlove?
Added InMoovPowerGlove (Thanks to brianhomer) on thingiverse.
This should get you going.
The zip contains a PDF diagram for connections and a sketch to upload on your Arduino board.
Added InMoovPowerGlove (Thanks to brianhomer) on thingiverse.
This should get you going.
The zip contains a PDF diagram for connections and a sketch to upload on your Arduino board.
2012-08-05
Dilemna with "WristsmallV3" part
This will help, I am sure about it!
There is a new tab on the blog which contains Assembly Sketchs for a more comprehensive perception.
There is also other tabs that might interest you...
I want to clear a dilemna with "WristmallV3" part. Some of the builders might think during it's assembly to "WristlargeV3" that there is an error, because the fingers can go more further in open position than in closed one. This is because you need to fix the "topsurface". Once attached the fingers won't open too much.
Also the closing
really shouldn't be too much, because once the finger tips are glued,
you will get ringfinger stucked by majeure finger on full closing.
If, after the complete assembly of those parts, it doesn't close enough to your taste, cut a little bit with a knife the blocks inside the palm, that stop the closing. Ringfinger should have a movement of about 15 degree and Littlefinger of about 20 degree while Thumb will normally have a 50 degree movement.
2012-07-29
Orange 3d printed hand
Why not in orange!
see http://rymdstekel.blogspot.pt/
One recommendation I should suggest after having build a few hands, is to start lining the fishing rods from the servos to the finger tip. That way, when you make the knots at the tip, you can really pull and adjust the tension of the fishing rods. I found you can make more knots BEHIND the first knot to pull the rods at maximum. (I will make pictures of this technique to explain better soon)
Also the other day I discovered this http://robosavvy.com/forum/viewtopic.php?p=34865
Which is a way to convert InMoov STL files to CAD, I'm sure it will be handy for some of you.
2012-07-25
Finally have been able to upload "thumb5" and "leftthumb5" on thingiverse.
By the way, I made a modification on "bolt_entretoise1" to "bolt_entretoise2" because the previous version had oversized bolts in length, I expected people to just cut them. But seeing pictures from the builders, I realized it confused somehow their assembly. I also added a fastening ring for the bolt that goes in the wrist.
Subscribe to:
Posts (Atom)