2012-11-12

InMoov's brain at work

In my previous post, I was talking about Myrobotlab for the brain, and I want to explain a little bit more of what's going on. I have been searching for an easy to use software in order to control InMoov's servos. My goal was to be as open source as I could, so keeping my Arduino boards, and not to go into closed systems. Of course the choice is yours once you are building your robot. Through my search I read on different forums about Myrobotlab and this guy ,GroG, was the one who ruled it.

I had tried to use the software a few times, trying to figure stuff on my own, but I finally decided to contact him. And boy, what a help! The Gui still remains opaque to me, but since I had been fooling around with Arduino scripts since January, I was ready to jump into Python scripts. At my very low level of knowledge of course. GroG has been helping to figure out many problems I had with scripts but mainly has been working on creating a special service in his software for InMoov.

This means if you have printed let say the hand and forarm and set servos inside and you are looking for a way to control it, with that service you can. It allows you to test your servo's movements with sliders. If you have a microphone with your PC you can give voice commands to your servos. OpenCV should be easily installed when you install the software, that will allow you to control with it's own vision your robot.
There is Tutorials, and maybe some more coming up for easier understanding.

For the software to take control of the servos through the Arduino board:

-First download Myrobotlab. Here Get the last one on the bottom of the list.
-Unzip into your hard drive C:\
-Open the folder Myrobotlab in C:\ and double click on myrobotlab.bat
-Right click on InMoov's service and click "install"
-Start the Arduino service by right clicking on it and give it a name, for exemple: arduino1

-Choose in the Arduino tab, the type of board you have and which serial port it is connected to.
-Then upload the script on to your board. (It seems that sometimes it doesn't work through the GUI, in that case copy click the script and upload it directly on your board using the Arduino.exe)

-Start the service InMoov by right clicking on it and give it a name, for exemple: inmoov1

 -At this point the GUI will load all the servos and will attach them to your board.
If you click on the "thumbRight" tab you will have access to the slider of the thumb servo.
Notice all the servos and two arduinos are now available in the tab bar.
This is for both arms, right and left + the head.
Ear tab is for giving voice commands, Mouth is for the robot to talk back.
OpenCV is if you have a camera set in the head. (Although those STL parts are not ready for downloads yet)

So now you have the base, it's up to you to play around, discover and there will be more to come according to GroG.

Following the tutorials might help you to go further.

Hope you have fun!

2012-10-30

InMoov's head and shoulders

Hey all,
Here is what I've got until now. I found some very talented people that are helping to developpe InMoov's brain. GroG is the guy that runs Myrobotlab and he has been helping to get InMoov listening to commands.
If you download his GUI you can do all kinds of interesting things with your robot. The neat part is that you can do all that with any Arduino board. The GUI still needs developpement but I have confidence to get to a point where I will understand how it works.
This a small video explaining some basic use of Myrobotlab.

And I have made a video with the last printed parts mounted on the robot.
Have a look it's getting to a point where it starts to look like something...
Hope you enjoy it!

2012-10-22

InMoov at the Makerfaire

InMoov was presented at the Makerfaire of Pittsburgh by Brian. He had been working hard to get all his things ready for display. We can't see it on the picture but he also had a Rostock delta 3d printer he builded. Things didn't go like Brian wanted though that day, apparently some kids went aggressive on the 3D printed fingers... And on other presented things.
I have seen a video made that day by the local TV where he desperatly tempted to present InMoov, but that also didn't turn out like he wanted.
Anyway, I want to make a Special Thanks for his efforts that day.


2012-10-04

Bicep video of InMoov

Well, that took me a while to post. I just couldn't find the right moment for to make that video.
I should make a "making of", because for to achieve this one, I had to redo it five times . Between the phone that rings, the ground plug from the Arduino that disconnect, and me kicking the table and not knowing anymore what I am talking about...
You are lucky to finally see a video, I tell you.

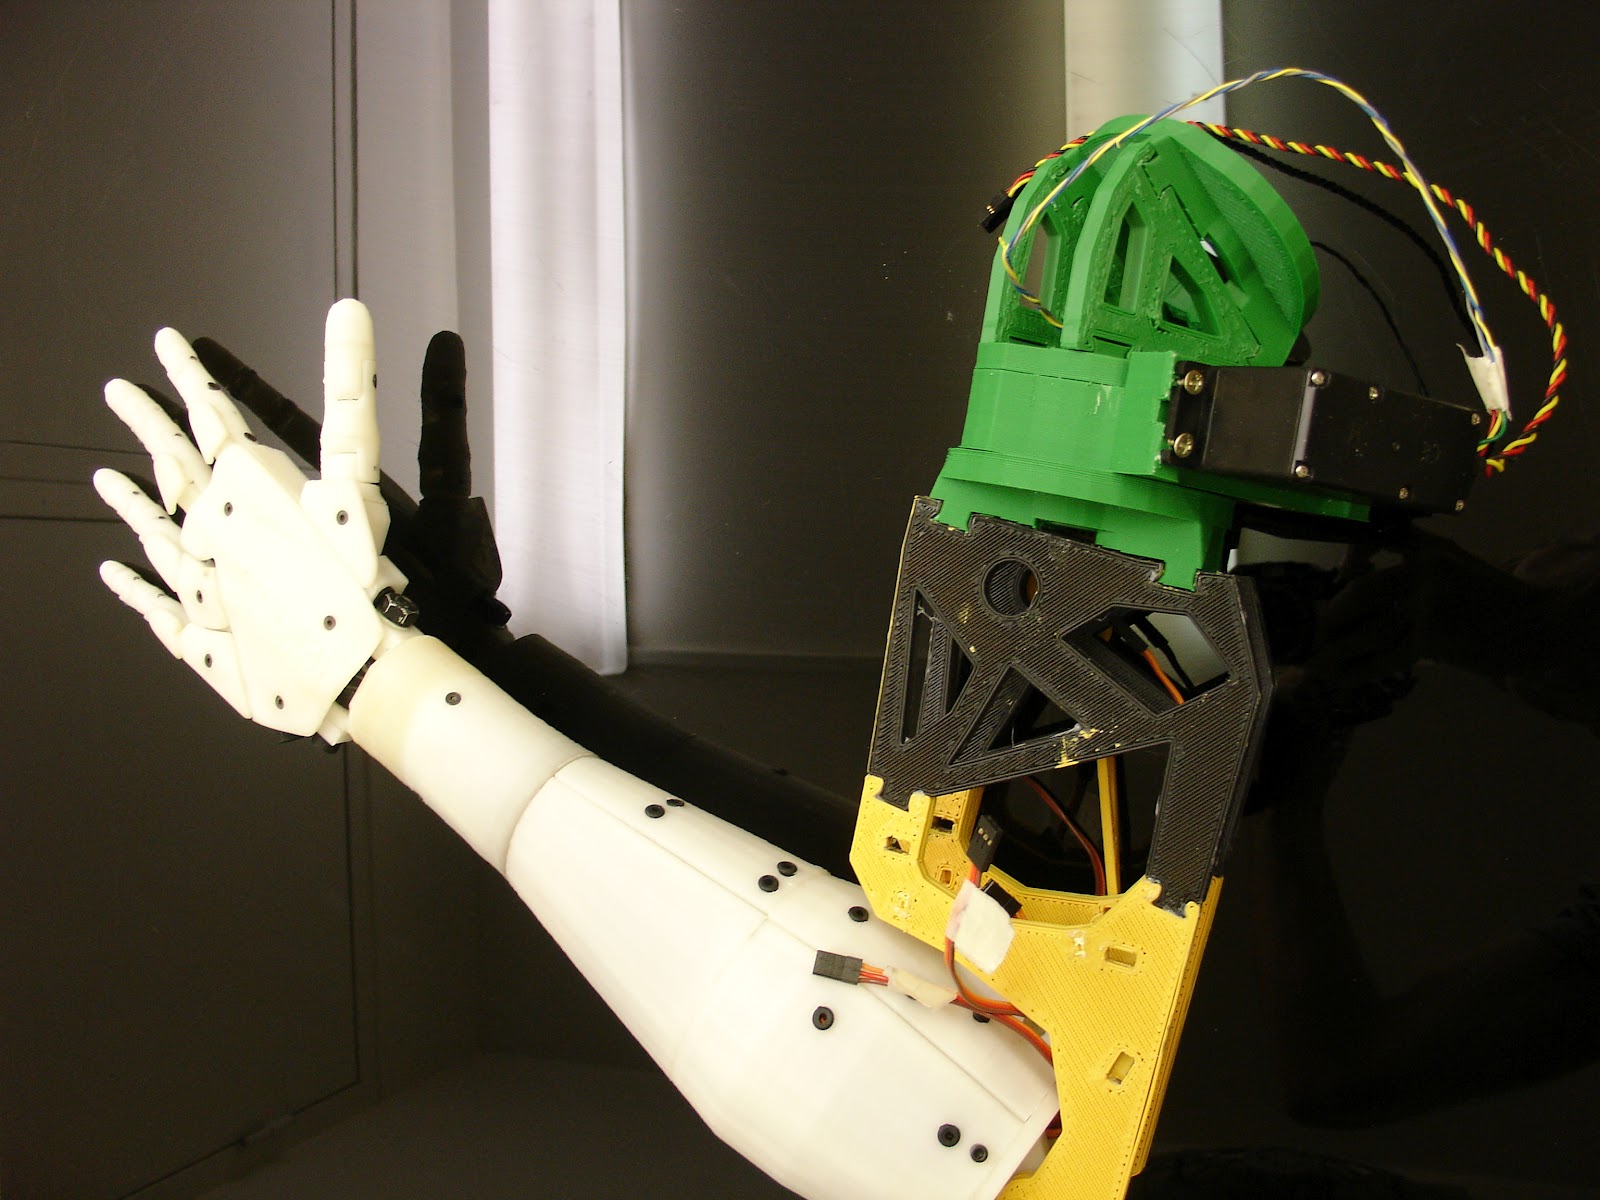
This picture is for to show the latest covers of the bicep, looking from close at the picture you can see in the background the head of InMoov.

I work on the head when I get stucked in engineering some other parts, for example the shoulder has given me headaches, so from time to time I start studiying the head, it's eyes movments with the camera and other fun things.

 Update 07/10/12 covers are uploaded on Thingiverse.


2012-09-17

Bicep for your Robot

This is it!
Today is the releasing day of the bicep, and the beginning of the shoulder.
Gee, since the last post I had again to redesign SO many parts it is unbelievable. First the shoulder isn't going to be like I thought because I encountered some direction problems, it didn't look human anymore... 
It was freaky! the shoulder was huge and too high which made InMoov like he had arms way too long.

Some pictures of the bicep, I have done many pictures of the whole building process, to make it easy to build. Actually it will be easier for you guys to build the bicep then the forarm.

I'm planning on making a step by step with pictures, just that, it's so much work.

Covers aren't ready yet, I am still working on the design, after all this is what gives the final look. The one you see on the pictures are just for show off, but it should be something close.

 Hope you enjoy it, because I do. When I see that arm moving by itself I feel like being in a sci-fi movie.

I need to make a little video to show how this works. As soon as I receive my white  ABS and I can print the rest of the covers.

Update 21/09/12: Assembly instructions uploaded in Tab "Assembly help" .
Update 01/10/12: Assembly sketchs uploaded in Tab "Assemblysketchs".


2012-09-11

Inmoov robot shoulder

Well, it's been a while since I haven't been able to print something. Holidays... I had been reviewing the concept of the shoulder. Not that my first system didn't work, but I wanted to get really more DOF. Sometimes I'm amazed of how many parts  I have to design and redesign under Blender before to finally be able to print them. Then, often, I have to redesign them again because of mistakes I discover once they are printed...
A box full of printed parts that are all for the trash.

Anyway, this should be something good, I am surprised of the strength it gives. Those HS-805BB servos are amazing.
This is what I plan on getting for the shoulder. Each cylinder has a servo motor and can rotate at 180°.
The cylinder contains a gear with a worm drive related to the servo.
I have extracted the potentiometer of the servo and fix it in the center of the cylinder.


 This is what I have printed so far, I had to print in green because I don't have anymore white ABS...It should arrive soon though. I really don't like this green... It doesn't look right on the robot, although I have nothing against bio colors.

Here it's mounted to the bicep, I had to redesign the mechanism system, and it isn't printed yet


2012-09-07

Inmoov by B.Stott

I have been in contact with someone since a while now, and I can tell you that person is really working on InMoov's hands. In fact, some suggestions came from him, for exemple the new brackets and the rotational bicep. 
Have a look at all his pictures, he did a great job. I am so delighted when I see others constructions, it really helps to make me go on with this project.
Thanks B.Stott
To see more of his work:  Here